Here is how you can sync your Windows files with Google Drive
Cloud is the way to go these days. Be it your personal files on your home PC or a workstation, the cloud is the ideal way to keep all your files easily accessible, regardless of where you are. In the past few years, a number of online storage solutions have propped up. Some of the most popular solutions available today are Dropbox, Google Drive, iCloud, and OneDrive. Each of these services offer some form of free limited storage and paid plans for more storage options.
Google Drive is one of the most popular storage services in use today, especially for non-Apple users. Today, we are going to cover a guide on how you can use Google’s tools to automatically backup and sync your files to Google Drive,
Backup and Sync to Google Drive
Google offers a tool called Backup and Sync that is made exactly for this purpose.
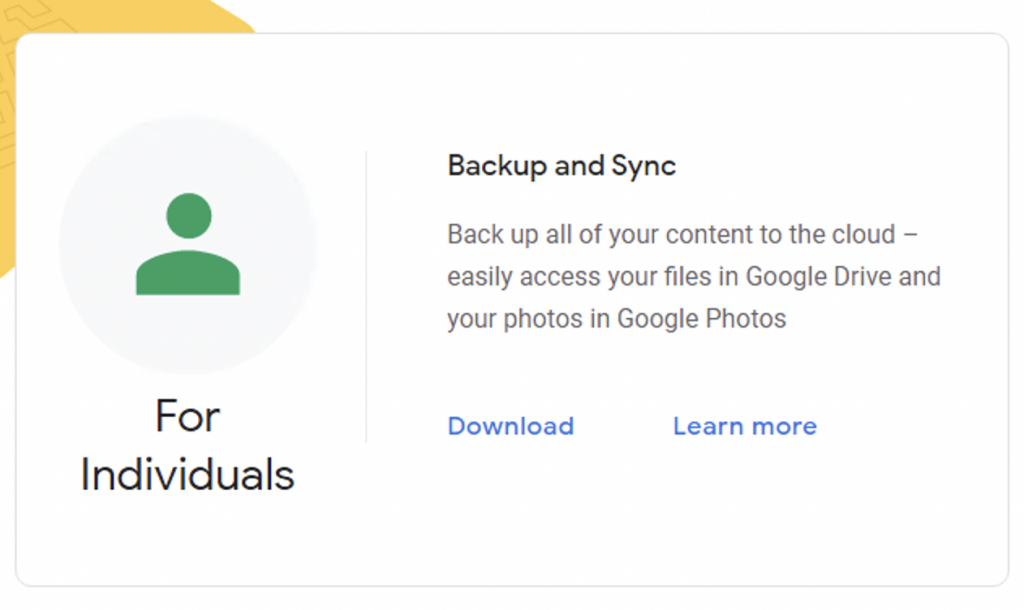
- Download Backup and Sync by going to this link and clicking on Download, then click on Agree and download.

- Let it download the setup and then click on installbackupandsync.exe.
- It might ask you to allow the program to make changes. Press Yes.
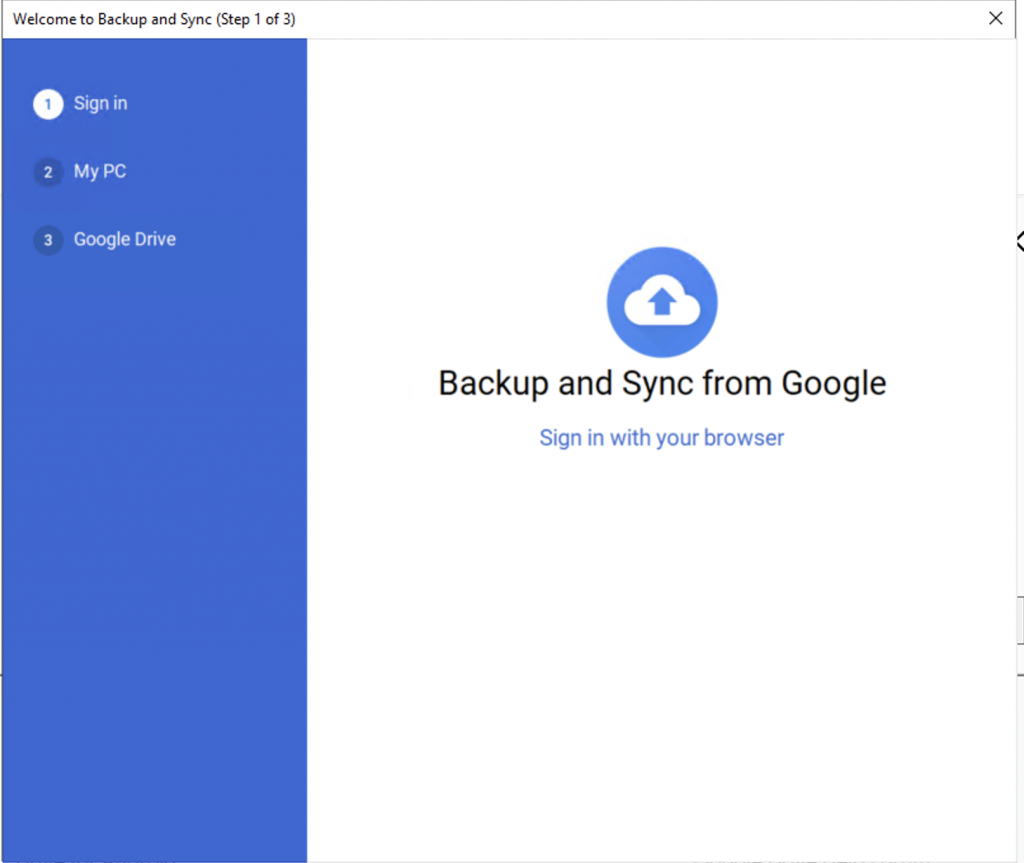
- It might ask you to restart the PC. Perform the restart and then open Backup and Sync.
- Sign in with your Google Account username and password.

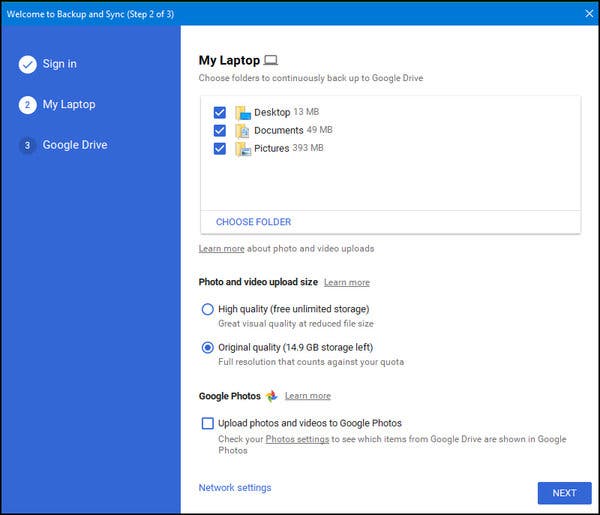
Once you have logged in, you can choose which folders you want to auto-sync to Google Drive.

You can also choose what size do you want to limit your photos and videos to. Furthermore, you can also choose if you want to upload your photos and videos to Google Photos as well or just Google Drive. Once you have made the configurations, you can click on Next, and on the next screen press Next again.

