
How-To Fix Common Uninstall errors on Windows
Uninstalling files and applications is a norm; often, users find some applications redundant; hence feel free to uninstall them.
Delete Files
The process of uninstalling files is simple. Go to the file explorer and find the file you wish to delete. Click on it or right-click on it. And you will find a button that reads “Delete.” With the Microsoft upgrade to Windows 11, the need for a right click is also gone. Click on the file, and you will find a “trash bin” button that will assist you in deleting it.

Now go to the recycle bin and permanently remove the file from your device.
Delete Applications
With applications, the process is similar. The user presses the Windows start button or directly clicks on the search bar and searches for the application you want to uninstall.
Once the application is found, on the right-hand side of the window, you will find a list of commands that can be applied on the app.

Since we want to uninstall, we click the “Uninstall” button. This will automatically open the “Program and Features” tab in the control panel.
If you are unable to find the app through the search, you can directly go to the following:
Control Panel>Programs>Programs and Features>Uninstall a Program
Once in the “Uninstall a Program” tab, click on “Uninstall/Change”. A prompt will appear asking if you are sure you want to uninstall or not, and you will press yes to uninstall.
In most cases, this simple workflow for installation works, but there are some scenarios where an error occurs.
The most common issue that occurs is that just as a user clicks on uninstall, the following error prompt appears:
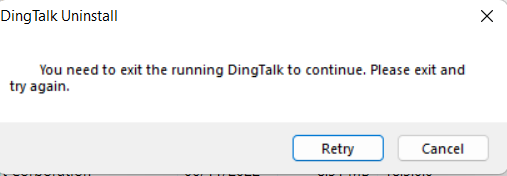
Why does this error come?
- If the application is open on your system, and the user tries to uninstall it while it is running. It will ask you first to close the app, then only you will be able to delete it.
- Sometimes, this same error might occur even when you have closed the app. This error can be due to a minor problem that can easily be solved within a few steps. The main reason for this might be that the application is set up as a “Start Up Program.” A start-up program is a program that automatically runs when a computer is turned on. These programs are typically installed as part of the operating system or added by users when they install new software. They are helpful because they allow you to automate specific tasks and have them run automatically in the background when the computer is turned on. For example, you might have a program that checks for updates, a program that monitors your system performance, or a program that starts a specific application when the computer is turned on. However, too many of these can slow down your computer and use up system resources. It’s a good idea to review your start-up programs regularly and disable any that you don’t need to run automatically. You can manage your start-up programs through the Task Manager on Windows. So, while the app’s running is not visible to you, at the backend, it automatically starts running when the computer is turned on.
How to solve this?
There are a few ways to solve this problem. One is by searching for “MSCONFIG,” and opening it. Now from the general tab, do a selective start-up. But this may lead to further complications as you might unselect something essential for software you need to be aware of. Hence the easiest way out is using the task manager.
On the search box, search for “Task Manager”:
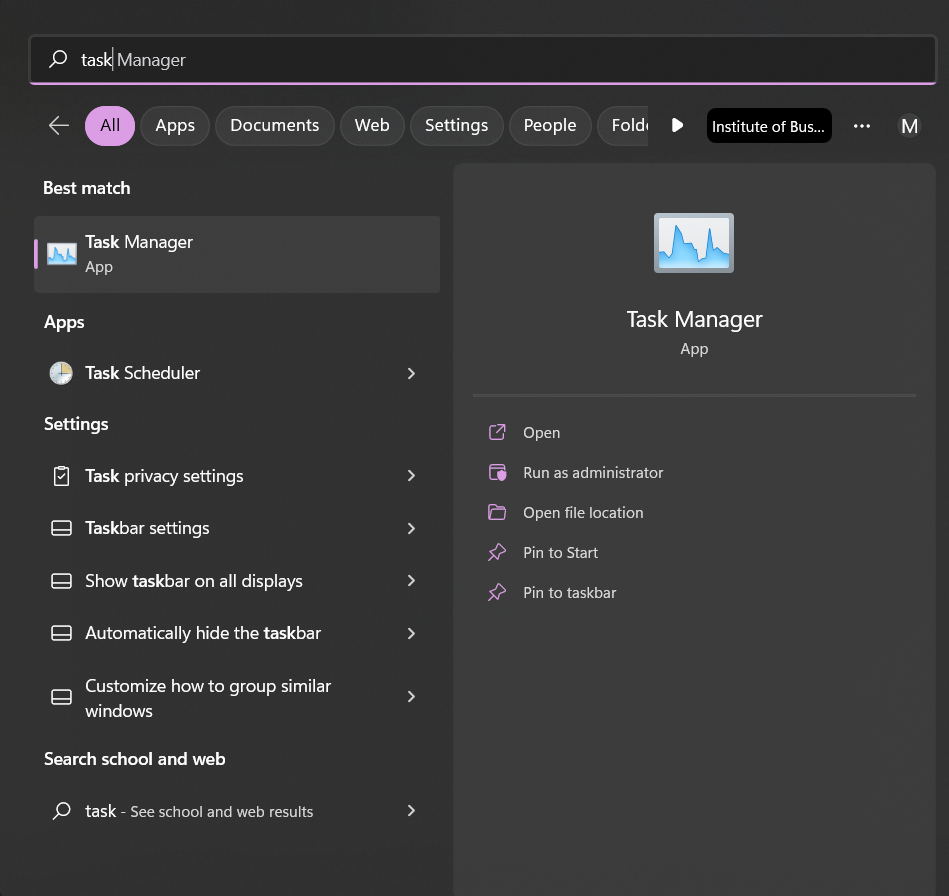
Open this and once in from the tabs at the top click on the “Startup tab”:

The startup tab will display all the applications installed on your system. Along with this will be the “Status” of the app and its “Startup Impact.”
The status means if it is activated as a startup program or not. If enabled, that means it is a startup program; if disabled, it is not.
Similarly, the startup impact describes a program’s effect on the computer’s startup process. You can use the Startup impact column in the Task Manager to help identify startup programs that may affect your computer’s performance. If you see any programs with a high impact rating, consider disabling them to see if they improve your computer’s performance.

Once here, scroll down and find the application you want to uninstall. Once found, change its status from “Enabled” to “Disabled.” If it is already disabled, you might have to check again if it is running somewhere else or on any other “desktop.”
Now repeat the steps described above for standard uninstallation using the control panel. Now the application will successfully be removed from your device.