Here is how you can change the File Extension of a File in Windows
A file system is a core part of every operating system today. While most modern file systems come equipped with basic features like copying or moving files, storing file sizes, supporting mounting drives, etc. there are still some fundamental differences in the functioning of each file system.
For example, Windows specifies a file’s type based on its extension alone. If it’s an .exe file then Windows will try to execute it when the file is opened while a .txt file will be opened as a text file. However, in Linux, the extension of a file holds no value and a file can be specified as executable using a bit in the file’s permissions.
As such, the extension of a file holds a lot of importance in Windows. It is really important to know the extensions of basic file types. There are hundreds of different kinds of extensions in Windows today. An extension alone holds no value other than signifying a file’s type to the operating system or the user – it is only a part of the file’s name and anyone can make their own extensions. However, we would recommend using already existing extensions to make it easy for the user to open the file using any commonly-available software.
A lot of times, you will need to change a file’s extension to change how it behaves when opened. A file with a .txt extension is set to open by Notepad by default while a file with a .html extension will open in your default browser. Thus, it is important to know how you change the extension of a file to change its type. In this guide, we will cover this.
Changing a file’s extension in Windows is a really simple process – just like changing the file’s name. You just need to enable the settings to be able to view the file extension in the browser.
Change a File’s Extension in Windows Using File Explorer
- Open Windows File Explorer and navigate to the folder where the file is placed.

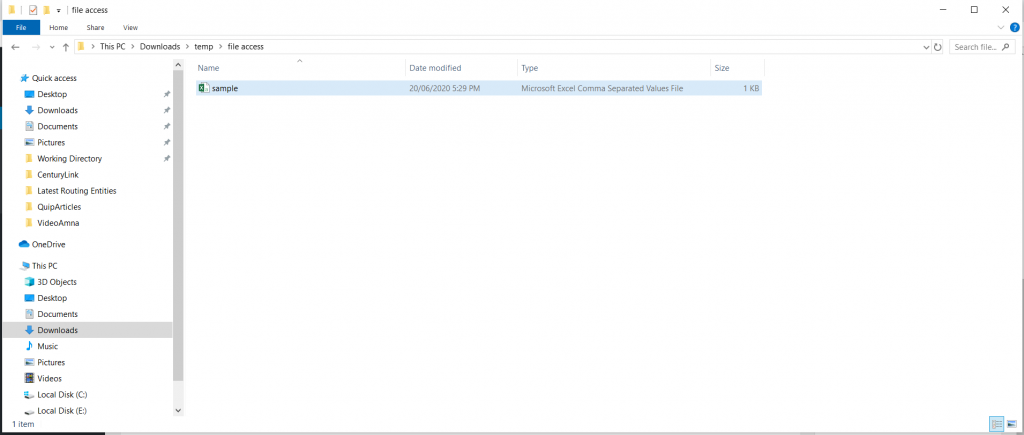
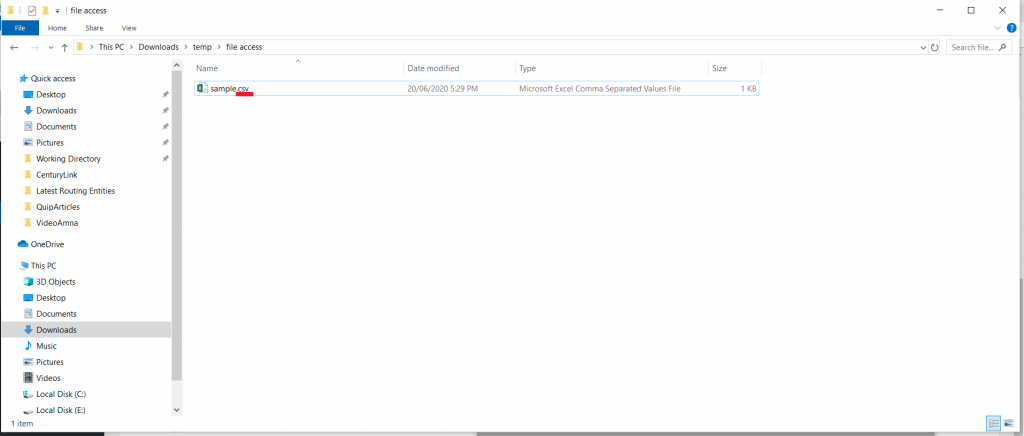
- Click on the View tab in the toolbar and select the box for File name extensions in the Show/hide section, as shown in the screenshot below. Once it is checked, you should be able to see each file’s extension instead of just the name.


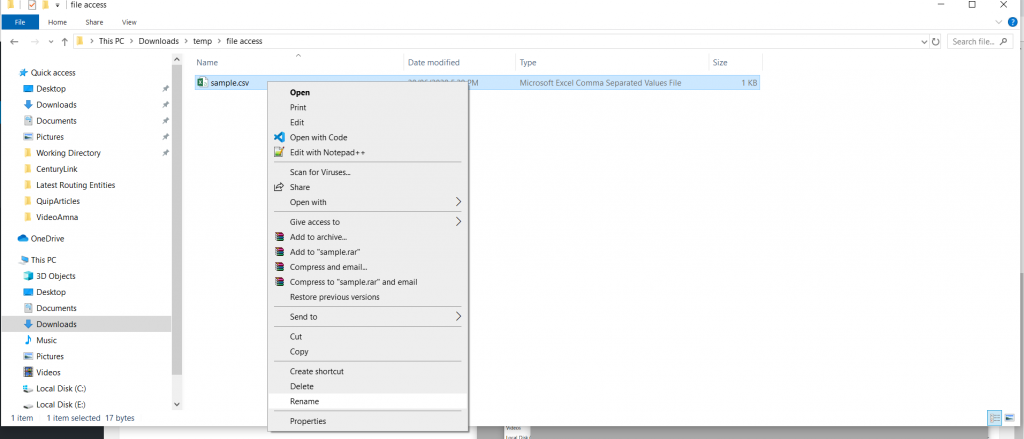
- Right-click on the file and select on Rename and then remove the old extension part and enter the new extension. Once you are done, press Enter.


The file’s icon should automatically change, depending on whatever extension you set. Extensions in Windows can be associated to open with certain programs when opened – you can set the default program for an extension using our guide over here.

Change a File’s Extension in Windows Using Command Prompt
- Open the Command Prompt and navigate to the folder where the file is placed.
- Type the following command,
rename <filename.oldextension> <filename.newextension>
rename sample.csv sample.txt

- That’s it.

